Benefits of Dynamic Apnea
(As seen on DeeperBlue.com)
Freediving and spearfishing (as with any ocean sport) can be very frustrating when conditions are rough, and can leave you land locked for weeks on end. Living in Southern California, especially when dealing with our unpredictable “El Nino,” we have to get creative to keep in freediving shape for the next good day or an upcoming dive trip.
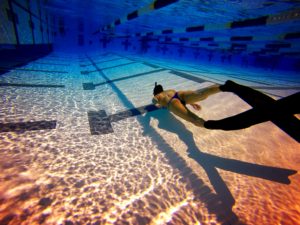
The next best thing to the ocean?… the local lap pool!
Even when conditions are great, here’s why dynamic apnea should be part of your apnea fitness routine: It allows you to train, experiment, work on form, practice safety and freediver fitness in a safe controlled environment; plus the conditions never change so it’s easy to mark your progress.
Here are some things to work on:
-Experiment: Play with your breath up and find what works best with you. Also it’s a good place to practice different relaxation techniques (yawning, visualization, eyes open, eyes closed, audible breathing etc)
-Test efficiency: Find your most efficient way to kick under water so you can conserve your o2 (too fast you’ll burn out, too slow you sink to the bottom or won’t cover much distance)
-Work on form: You can dramatically feel how streamlined you are or aren’t by adjusting your head and arms…. also a good place to work on proper “arms over head” flexibility. Holding a tight form will instill good habits, and frequently practicing it will (over time) help you hold cleanly and correctly in a comfortable energy efficient way.
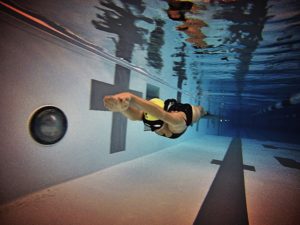
Photography by: Nathan Lucas
Safety
Dynamics allows you to learn your limits in freediving (you can explore counting your contractions while you swim). The pool is a safe controlled environment… if you have a spotter, but only if they are trained and know what to do. Don’t trust that lifeguards will see you… when they recognize that you need help, it could be too late.
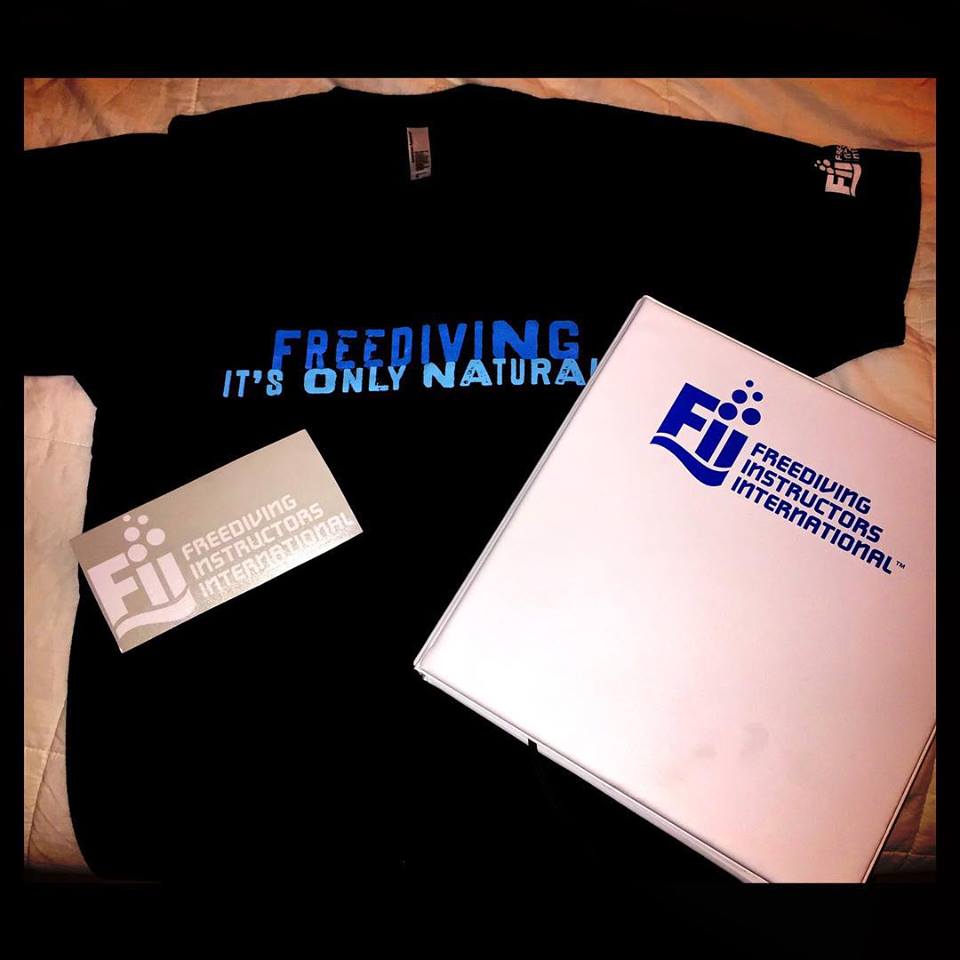
You also get to know the limits of your dive buddy by seeing the “levels of blue” that their lips go through. Why is that important? Assessing lip color allows you to know how hypoxic a diver is post dive (all people vary for what color = hypoxia. (My buddy’s lips actually turn deep purple, his normal color is a shade of blue. I only know this because of training with him) Knowing lip color and assessing your own CBSGONE (take a Freediving Instructors International-FII- Level 1 and 2 courses to learn what this means) lets a diver know if they should push further, stay at the same level or depth, or back off a bit.
Dynamic Apnea Workouts
These workouts are designed to build your comfort under water
Dry Dynamic (a land based dynamic workout):
Set up your preferred apnea timer to the CO2 setting. Now, lets put our dynamic breath hold to the test… walking! Find a beach or soft patch of grass, a buddy as a safety spotter (incase you need help with a soft landing), and do a relaxing breath up while standing. Start your clock and when it gets to your “apnea” portion, begin walking slowly and relaxed in a 20×20 square. See how many times you can get around moving at the same slow pace. If you have to breath before your time is up, no worries just skip the rest and move on to the next breath up. Over time your walking dynamic will improve. This will also help to build your tolerance to CO2 (what causes our urge to breath)
Wet Dynamic Surface Swim
We used this in lifeguard training years ago and occasionally you’ll see variations of this in “Masters” swim programs. It’s also great for training in pools that don’t allow any form of traditional “breath holding.” I call it the “the freestyle apnea swim pyramid.” Do 4 cycles or 1-2 cycles as a cool down if doing other dynamics (again, always work with a trained safety):
*Freestyle swim 50 meters per breathing rotation
-Breath every stroke
-Breath every 2nd
-Breath every 3rd
-Breath every 4th
-Breath every 5th
-Breath every 4th
-Breath every 3rd
-Breath every 2nd
-Breath every Stroke
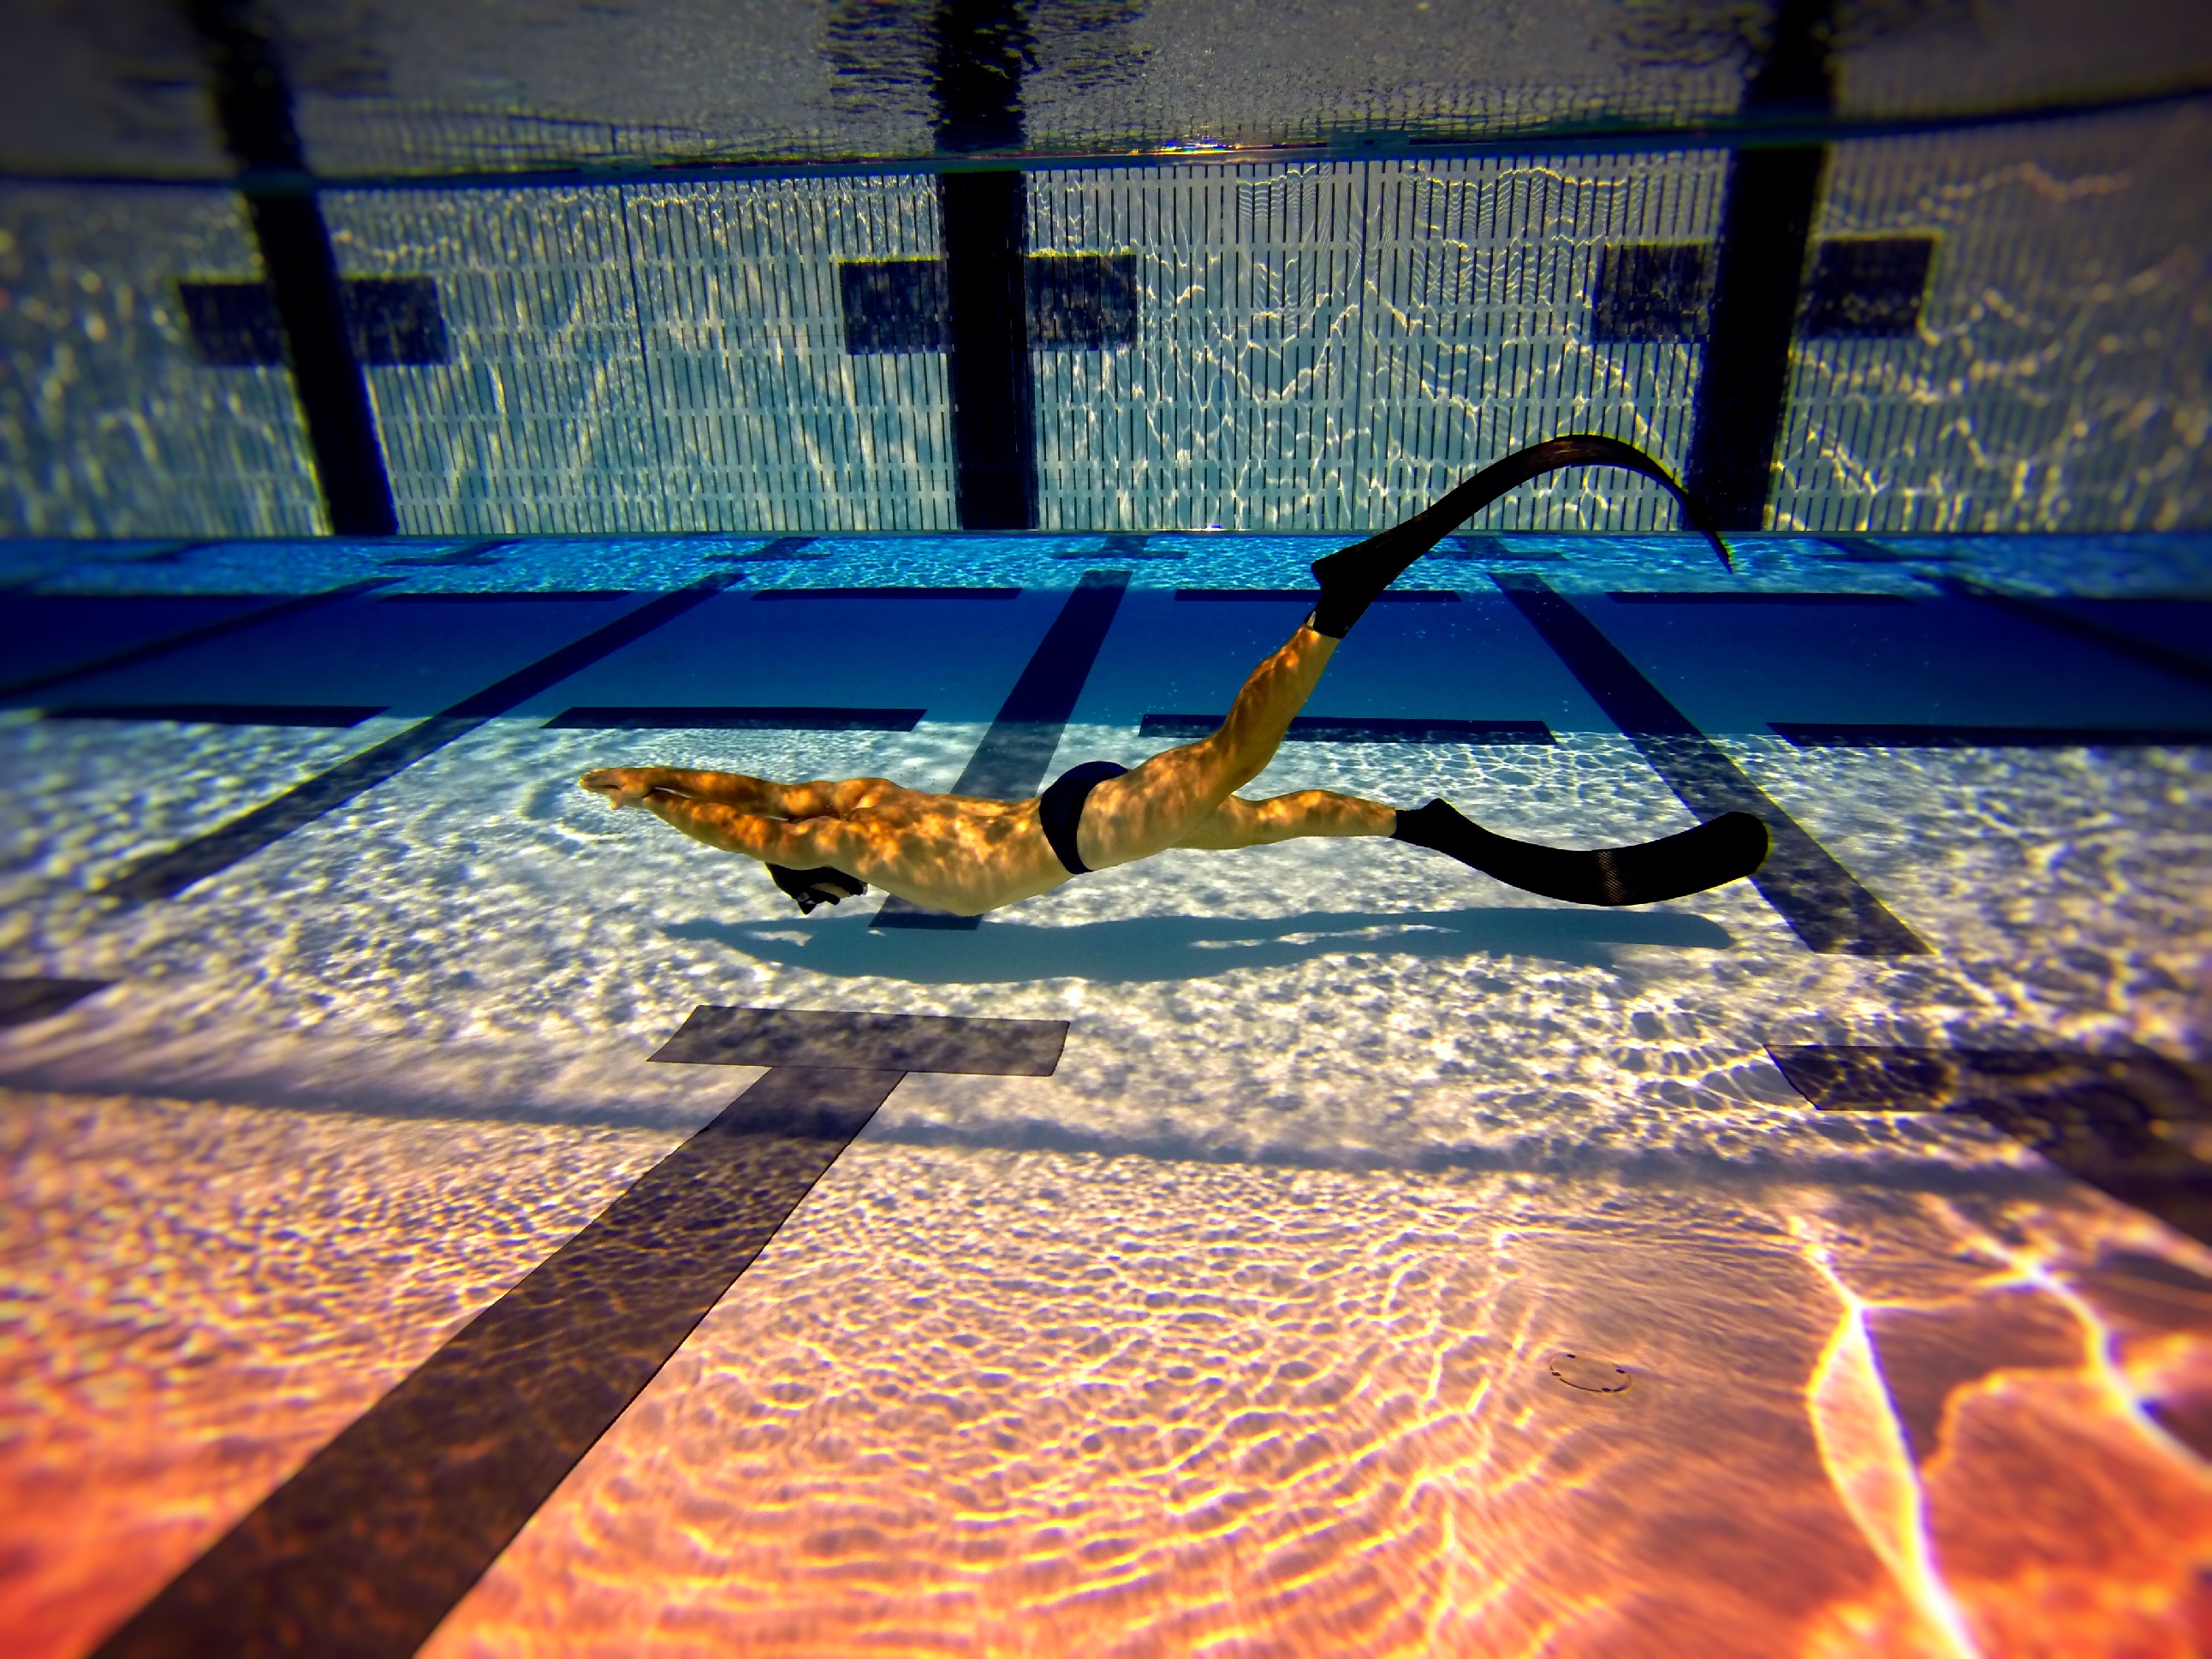
Wet Dynamic With Bifins
25 Meter Intervals
Photography by: Nathan Lucas
Swim 25 meters apnea (with long blades) in the correct “Arms over head freediving position.” followed by an 8 breath controlled recovery and swim 25 meters again, then 7 breaths, then 6 and so on, down to one breath to complete 8 cycles of this exercise. This will build your dynamic co2 tolerance.
50 Meter Intervals Finning Recommendation
Swim 50 meters apnea (with fins) in the correct “arms over head freediving position.” After a 5 min recovery begin again. Complete 4 to 5 cycles of this.
*Recovery is important.
Recommendations
Need More Recovery?
With all apnea exercises, take more recovery time if it’s needed. These are just training suggestions to use when conditions are bad and to make ocean breaks more enjoyable.
Remember: Slow progression is key!
Finning Recommendation:
Move Slowly!… especially when you’re at the end of your breath hold and you see your destination in sight. Your body’s hydrodynamics makes swimming harder when finning faster, and will work against you… Plus and you’ll suck up whats left of your O2 much faster (which could lead quickly to an LMC or Blackout). It’s better to relax, move slowly (about 1 meter per second) and resist your “fight or flight” response. This will ultimately make the dive safer for you. You’re learning your body here, so experiment. It may take awhile to find a pace that feels comfortable for you.
Just Starting Dynamics after getting certified?
TAKE IT SLOW! It takes time for your body to adapt, so don’t go “nuts” out of the shoot. Use these work outs as tools to slowly progress. Pick one exercise to start with, 2 to three times a week. Then pic another. Slowly work up. Perhaps do a few work outs with long recoveries in between, before you go for broke (took me 2 months swimming 3 to 4 days a week before I started attempting personal bests). You’ll gain more benefits by increasing slowly than busting out your PB every time.
Combining Yoga or a regular stretching routine with Dynamic Apnea will greatly increase your
strength, flexibility, time and comfort underwater. I hope this info has helped you, and for more freediving tips, tricks, and gear reviews please visit my site at Apneaaddictsfreediving.com
Remember, Being a good safety is part of being a good diver. Stay safe, never dive alone! and always practice “One Up One down.”
…Cheers!
Nathan Lucas
Nathan Lucas is a fireman, a SoCal based freediving instructor with FII and the founder of Apneaaddicts.com (a website for all aspects of tankless diving). His intrigue for the ocean began as a kid, learning to surf in the chilly waters of Southern California and grew to a love for the ocean when he started diving beneath the waves. After taking his first course through FII, freediving quickly went from his hobby to a lifestyle. He hopes to use his experience to promote freediving in a safe, yet entertaining way for all.
Disclaimer:
Freediving is a dangerous sport and should not be attempted by anyone who is not trained. This article not a form of instruction, just a hub of information for the trained freediving community based on classes, and personal experiences I want to share. IT SHALL NOT TAKE THE PLACE OF A CLASS! I’m an ambassador of this sport and recommend that everyone take a freediving course through Freediving Instructors International or other certifying agency. Even trained individuals should never dive alone, and practice diving with “Direct Supervision.” Nathan Lucas takes no responsibility for any injury, LMC, black out or death while freediving. This sport can kill you! Live to dive another day. Get trained. Dive safe. Find classes near you at Freedivinginstructors.com