Go Pro 101
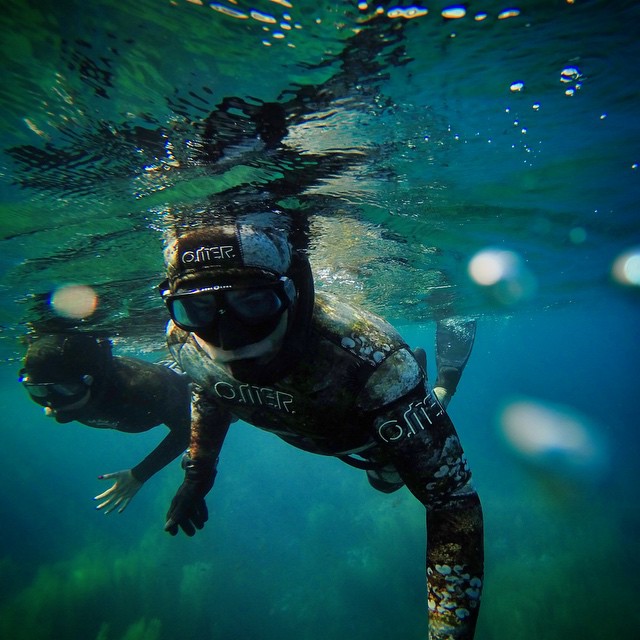
Don’t miss the moments that can take your breath away… ADDICT's Beginners Guide to Taking Underwater Shots -
I’ve been getting a lot of questions regarding my photography/ videos and how I’m able capture such great moments on one breath. This knowledge shouldn’t be secret and I hope this article helps all aspiring Apnea Addicts to get out there, shoot and, of course, send us your awesome results!
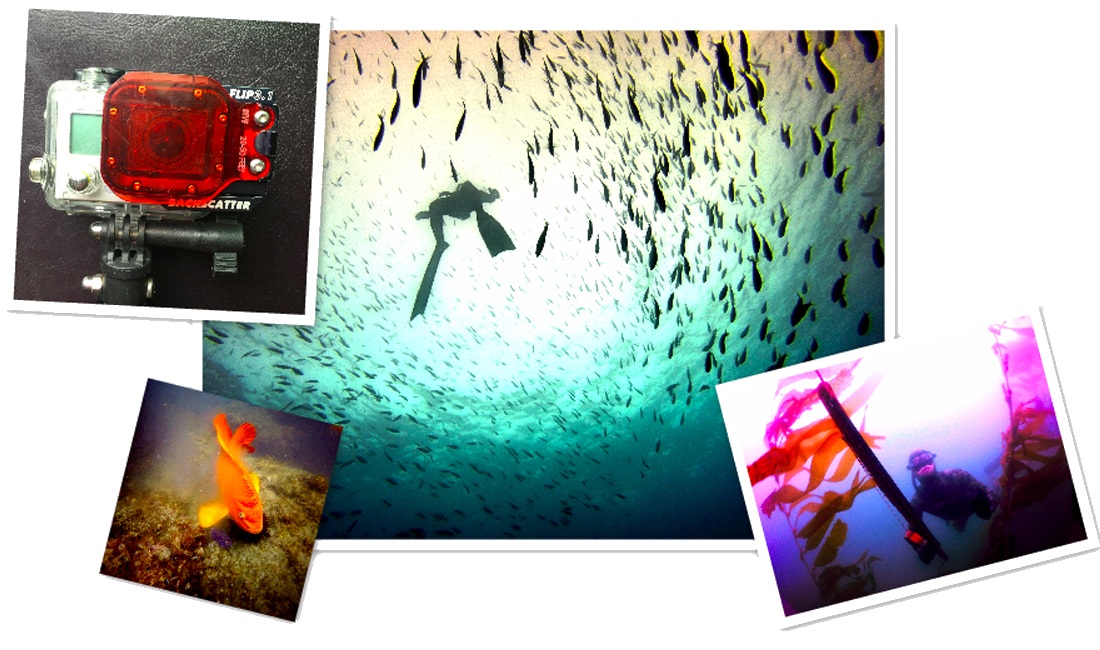
I use a GoPro Hero3 + black for all my underwater photos.
Reasons:
- It can take a beating
- It is small
- Low profile
- The “superview” is like having a fisheye lens (that’s best for underwater)
- and for the price, you get a camera and dive housing…can’t beat it!
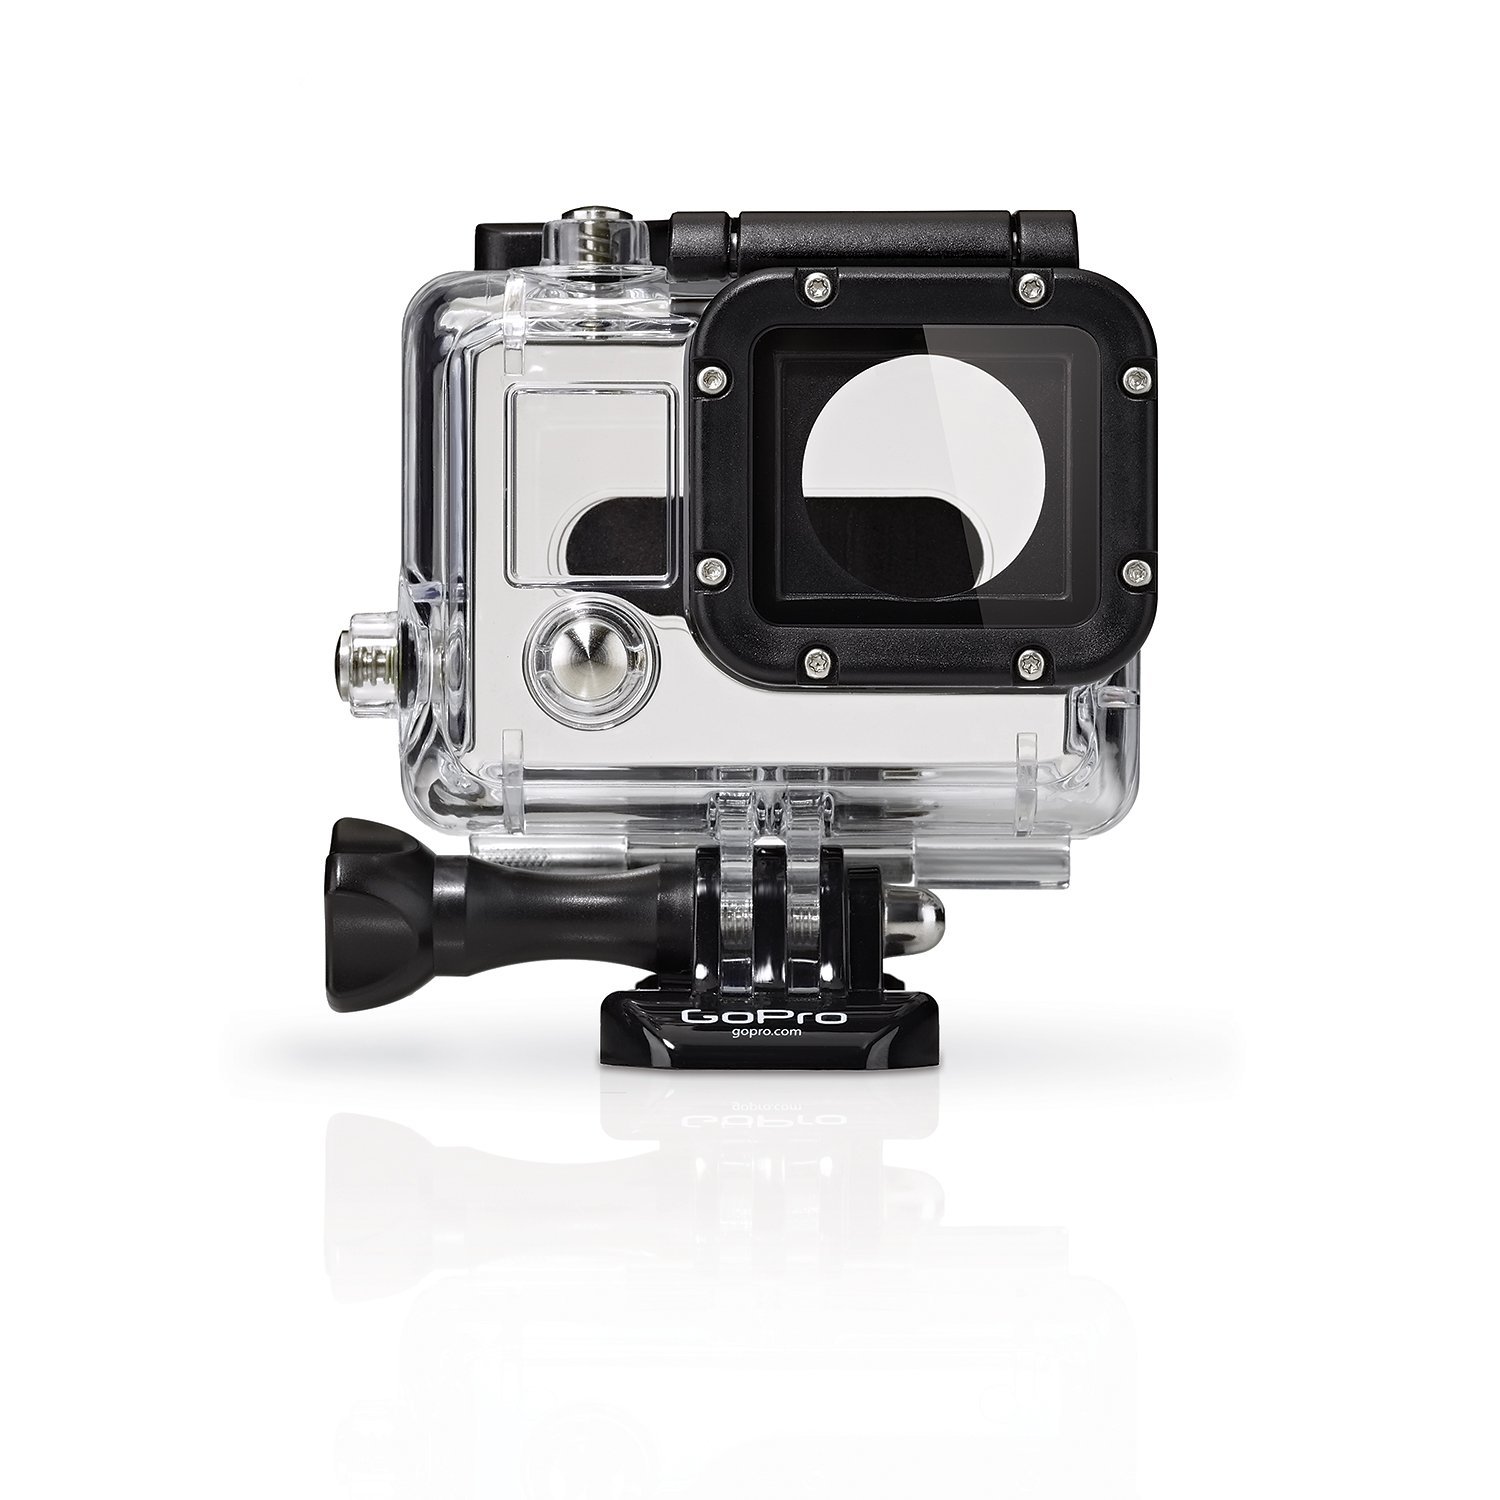
Side note: Be sure to buy the “Dive housing” for GoPro if you plan to take it deeper that 100+ feet and the backscatter won’t fit on the standard housing… You might be good to go with the new Hero4.
 Extended battery pack with dive housing (take the free GoPro class at Sport Chalet for 20% off on all items (even GoPro which is sometimes the best deal).
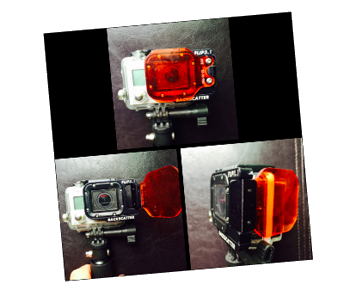
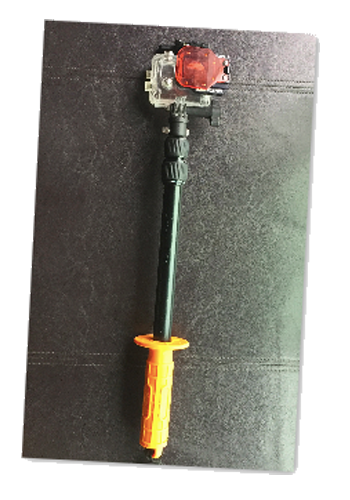 Get a better reach with animals. Most animals only let you get within a certain radius, which is hard to get a good shot with a wide angle. The GoPro has a very wide angle lens so you have to get very close to get the great shots. The extra 38” reach may be the difference between a great shot, and a “Throw way.” Also it acts as a cool selfie stick so no one gets left out of the photo and your arm acts as a pretty solid steady cam when videoing. Lots of pluses to using this. I’ve even used it to poke a sea lion that got a bit too frisky with me… “this is my dance space… this is yours.”
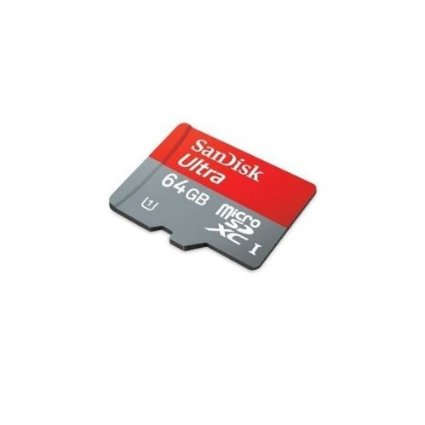
4k is best if you can kick down the extra cash) About 80 bucks at Best Buy or on Amazon. Get the 64 so u don’t have to down load each day on your computer or have 2 cards. If you bring your computer then u only need one.
Settings
When shooting animals or sometimes even models in video mode: I use 24fps 1080 super view. It makes it look more like a movie in theaters. You can use 60 fps (better for slow motion video) but it’ll look really high def and uses more data on your card. If in normal editing (no speed up or slow motion) The human eye only sees 24 fps… That’s why they use it in film and television.
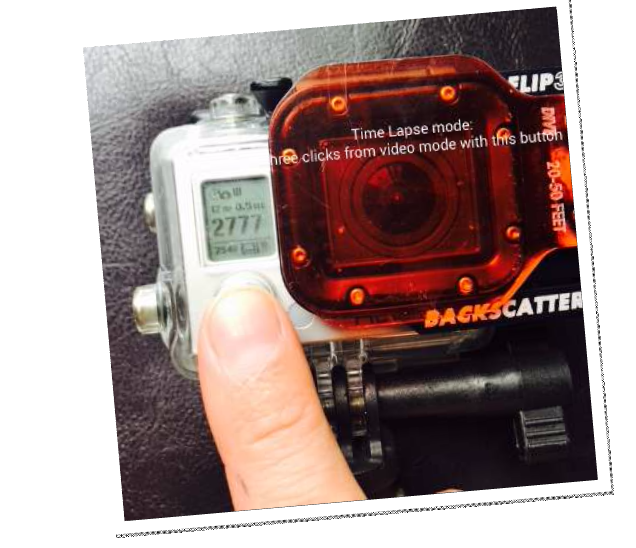
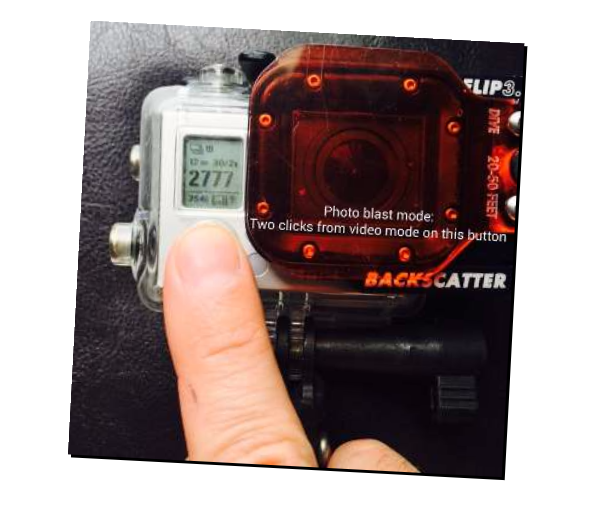
When shooting pictures of wildlife I set my camera for:photo time lapse (3 clicks from video mode), at a pic ever .5 sec.
Or if I know I don’t want to miss a moment I’ll do a photo burst (15 shots every 2 sec… it’s two clicks from video mode). You take a lot of pics this way, but that way you don’t worry about the camera as much and can still enjoy the experience of the animal or event. Then after, go back and grab the ones you like. Best chances of getting a great shot (another reason why the large memory card is best)
Specialty Shots
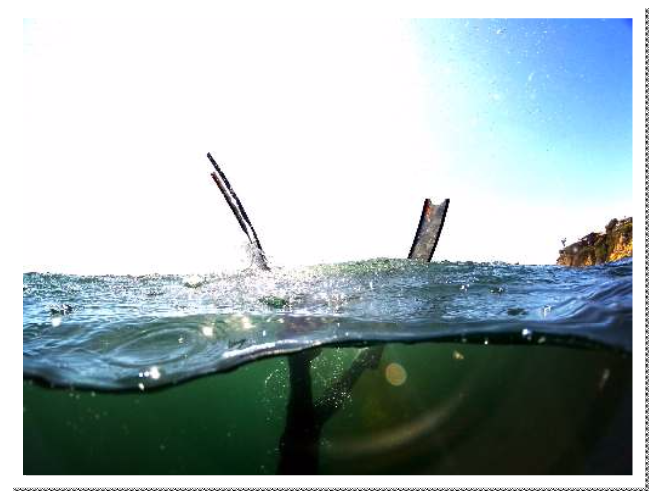
The “Over Under”
These have become really popular and offer a cool effect when trying to catch a shot half above and half below water. It works by pulling the water line away 5 inches and keeping the water line in focus.
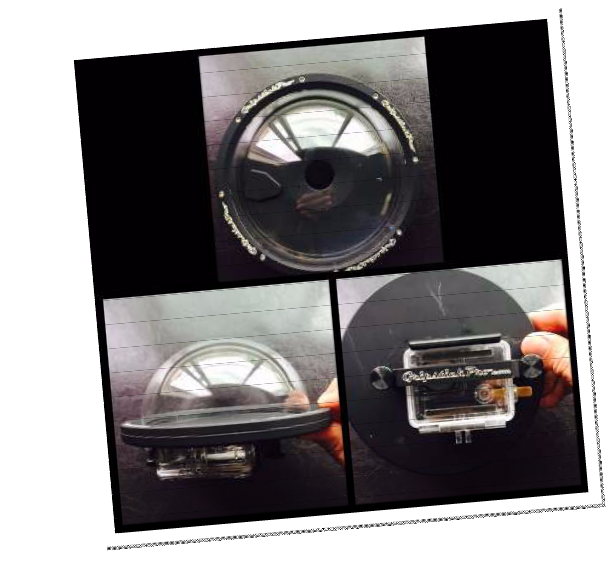
The grip stick Pro:
This is my dome of choice. Not only have I taken it below 60 feet with out leaking (most I’ve had leak past 20 feet) , but I’ve actually met the man who makes it, Brandon Johnson, and watched him assemble one. They are all hand made and the craftsmanship is honestly some of the best I’ve seen. A 5 inch dome will run you about 300 bucks. Pricy but still cheap compared to a dive housing with a dome for a nikon, cannon or sony camera.
Dome tips:
Lick it before you shoot! You’ll decrease the number of water spots you’ll have to edit out later. (Pics seen on this page needed no edit) Use a pole or trigger grip if shooting surf on photo blast. It offers a quick way to capture the shot while keeping control of your camera (I believe Brandon is designing pistol grips as we speak) Protect it. The lens is plastic not glass so it’s very prone to scratches. Treat the dome with extreme care. Also it’s Buoyant when diving down, so its hard to swim with the correct arms over head position. Best to tuck by your side like a spear gun… it will also protect it. Use the back screw bar and don’t add a batt pack. Doing so could cause the dome housing to weaken, possibly break. Use silicone grease to re-lube gaskets once every 2 months or so.
FAQs
That’s why I like the UK poles because they are sturdy. Hand holding just the GoPro alone won’t let you get close to sea createres either. It takes a little getting use to, but once you get the hang of it, you’ll love it. Watch the video to see the best angles for selfie filming. For “away” filming, just flip the camera around and swim. Works just as good. Photo burst or time lapse setting works good for either. Find the manual on the Gopro website or take the free class at Sports Chalet and they’ll teach you.
I sincerely hope this article helps those who are looking at getting into underwater gopro photography/ videoing and/or helps those who are currently struggling. Please shoot me an email if you have any questions (I’ll try to answer to the best of my ability) and send over pics if this article helped you.
Thanks again for following….
Cheers! –